Getting started with Scaleout Edge
Note
This quickstart guide will help you get started with the Scaleout Edge platform using an existing or pre-provisioned deployment. If you don’t yet have access to a project, follow the steps below to request one. To learn how to develop and configure your own project from scratch, see Develop a Scaleout Edge project.
Prerequisites
1. Access a Scaleout Edge Deployment
Note
Scaleout Edge is free for academic and research purposes. For commercial use, please refer to our web page for Enterprise licensing options.
Request a deployment. Complete the form at scaleoutsystems.com to describe your use case and preferred licensing option.
Select your deployment option. We offer several hosting configurations:
Academic (free) — for research and educational collaborations, hosted by Scaleout Systems. Simply install the client library to begin. The API enables custom aggregation algorithms and workflows.
Enterprise — for organizations requiring dedicated infrastructure and isolation. Enterprise projects can be on-premises (self-hosted) or fully managed by Scaleout Systems.
Await confirmation. Our team will review your request and provide setup details and access information.
Begin using Scaleout Edge. Once your deployment is approved and provisioned, you’ll receive credentials and connection details to get started.
2. Get started with the Python client
To install the Scaleout Edge Python client, use pip:
pip install scaleout
Note
It’s recommended to use a virtual environment (e.g., venv or conda) to manage dependencies for your Scaleout Edge projects.
Verify the installation by checking the version:
scaleout --version
If the installation was successful, you can now start the client using the following command:
scaleout client start --api-url <API_URL> --token <CLIENT_ACCESS_TOKEN>
Replace <API_URL> and <ACCESS_TOKEN> with the values provided when your deployment was set up.
The client should now connect to the Scaleout Edge server. However, since no project has been created yet, it will complain about missing a compute package. Press Ctrl+C to stop the client for now.
3. Create a Scaleout Edge Project
We will use an existing example project for this quick start. The example will make use of the federated learning capabilities of Scaleout Edge to train a model on the MNIST dataset using PyTorch.
In order to train a federated model, your project needs to be initialized with a compute package and a seed model. The compute package is a code bundle containing the
code used by the client to execute local training and local validation. The seed model is a first version of the global model.
Note
For a detailed explanation of the compute package and seed model, see this guide: Develop a Scaleout Edge project
You need a local copy of the mnist-pytorch example project contained in the client GitHub repository.
Clone the repository using the following command:
git clone https://github.com/scaleoutsystems/scaleout-client.git
Navigate to the scaleout-client/python/examples/mnist-pytorch folder. The compute package is located in the folder client.
cd scaleout-client/python/examples/mnist-pytorch
Create a compute package (compress client folder) by executing this command from the root of the project:
scaleout package create --path <relative-path-to-client>
This will create a file called package.tgz in the root of the project.
Next, create the seed model. For this to work we need to install the dependencies required by the client code. These dependencies are listed in python_env.yaml located in the client folder.
Install the dependencies into the current python environment using the following command and then create the seed model:
scaleout run install --path <relative-path-to-client>
scaleout run build --path <relative-path-to-client>
This will create a file called seed.npz in the root of the project.
Note
This example automatically creates a runtime environment for the compute package using Virtualenv. When you first execute the commands above, Scaleout Edge will build a virtual environment, which may take some time. For more information on environment management options, see Develop a Scaleout Edge project.
Next (step 4), you will upload these files to your Scaleout Edge project.
4. Upload compute package and seed model
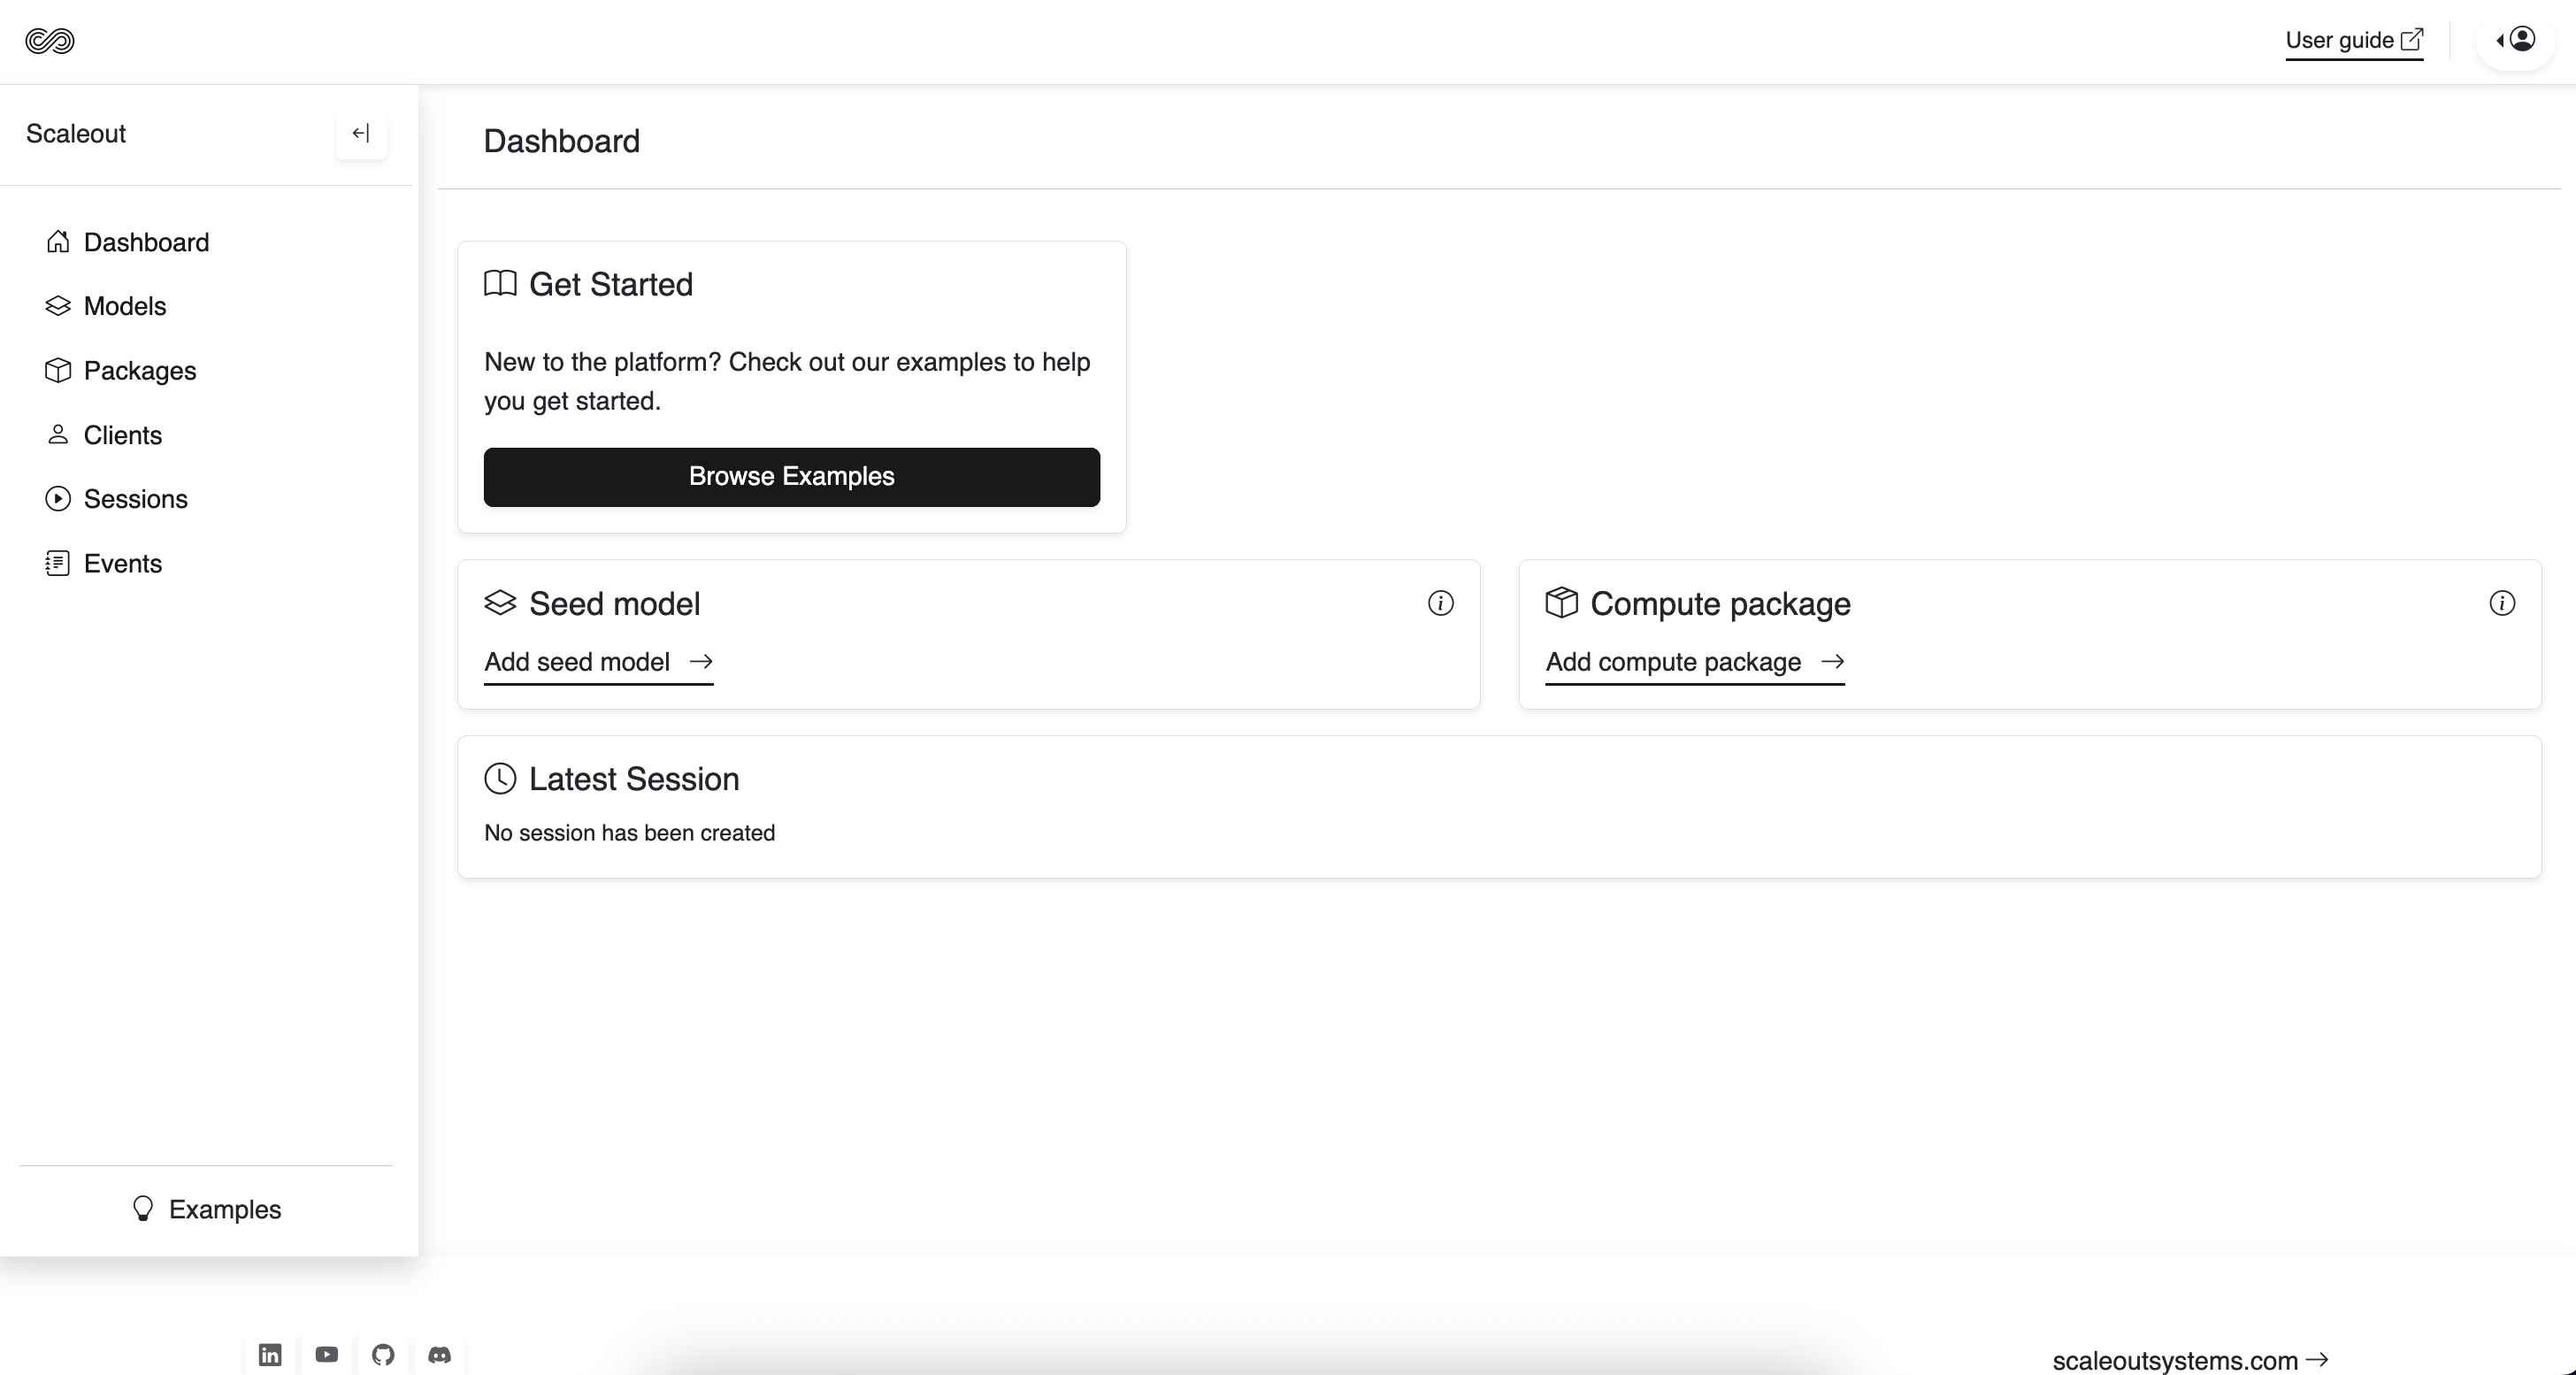
The next step is to initialize the server side with the client code and the initial global model. This can either be done via the Scaleout Edge Dashboard or the API Client. Here we will use the dashboard.
Upload the compute package
In your web browser, navigate to your Scaleout Edge deployment and log in. The URL will be provided when your deployment is set up, together with your credentials.
Click on the Packages tab in the sidebar.
Click Add Package.
In the form that appears, enter a name and upload the generated package file (package.tgz).
Click Save. The package should now appear in the list of available packages.
Note
If no compute package is selected, the system will run in local mode. This is an advanced option that
allows each client to connect with their own custom training and validation logic. It can also be useful during development, as it eliminates the need to upload a new package with every change or version update. Local mode is the default — no extra flag is needed. To instead have the client download the package from the server, use the --remote-package flag.
Upload the seed model
Click on the Models tab in the sidebar.
Click Add Model.
In the form that appears, upload the generated seed model file (seed.npz).
Note
You can upload multiple compute packages and seed models, selecting the appropriate one for each session. To create a new session from any model, navigate to its model page.
5. Start clients
Before starting the clients, we need to configure what data partition each client should use. This way each client will have access to a unique subset of the training and validation data.
Manage Data Splits for MNIST-PyTorch
For convenience, the default training and test data for the mnist-pytorch example is automatically downloaded and partitioned by the client upon startup.
You can control the number of data partitions and specify which partition a client should use through the environment variables SCALEOUT_NUM_DATA_SPLITS and SCALEOUT_DATA_PATH.
Setup the environment for a client (using a 10-split and the 1st partition) by running the following commands:
export SCALEOUT_PACKAGE_EXTRACT_DIR=package
export SCALEOUT_NUM_DATA_SPLITS=10
export SCALEOUT_DATA_PATH=./data/clients/1/mnist.pt
$env:SCALEOUT_PACKAGE_EXTRACT_DIR=".\package"
$env:SCALEOUT_NUM_DATA_SPLITS=10
$env:SCALEOUT_DATA_PATH=".\data\clients\1\mnist.pt"
set SCALEOUT_PACKAGE_EXTRACT_DIR=.\package\\
set SCALEOUT_NUM_DATA_SPLITS=10
set SCALEOUT_DATA_PATH=.\data\\clients\\1\\mnist.pt
Start the client (on your local machine)
Each client requires an access token to securely connect to the Scaleout Edge server. These tokens can be generated from within the Dashboard.
Navigate to the Clients tab in the sidebar.
Click on “Generate Client Token”.
Copy the generated token or save it for later use.
Now start the client using the following command:
scaleout client start --api-url <API_URL> --token <CLIENT_ACCESS_TOKEN>
Repeat these two steps (in a different terminal window) for the number of clients you want to use.
A normal laptop should be able to handle several clients for this example. Remember to use different partitions for each client, by changing the number in the SCALEOUT_DATA_PATH variable.
In the dashboard, navigate to the Clients tab. You should now see the connected clients listed there.
6. Train the global model
With clients connected, we are now ready to train the global model.
Tip
You can use the Scaleout Edge API Client to start a session and monitor the progress. For more details, see Using the API Client.
from scaleout import Scaleout

client = Scaleout(host="<API-URL>", token="<ACCESS-TOKEN>")
client.start_session(name="My Session", rounds=5)
You can create and manage training sessions through the Sessions tab in the Dashboard.
Navigate to the Sessions tab in the sidebar and click “Create Session”. Fill out the form with your desired training settings.
Once the session is created, click “Start Training” and specify the number of training rounds to execute.
Monitor the training progress in real-time through the Dashboard by observing metrics displayed for each round.
In the terminal where you are running your client, you should see training and validation activities being performed.
Congratulations! You have successfully completed your first federated training session with Scaleout Edge. The information below provides additional resources to help you advance your federated learning journey.
Note
In the Dashboard, you can access global model updates by navigating to the ‘Models’ or ‘Sessions’ tab. From there, you can download model updates, export metrics as CSV files, and view the complete model trail.
Where to go from here?
Now that you have your first Scaleout Edge project set up, we recommend exploring how a Scaleout Edge project is structured to learn how to develop your own custom projects:
Develop a Scaleout Edge project
In this tutorial, we used the Dashboard for running training sessions and retrieving models and results. The Python Scaleout client offers a more flexible alternative with additional functionality, including support for custom user-defined aggregators and client selection strategies. Learn how to use it here:
To gain deeper insights into how Scaleout Edge works under the hood, explore the architecture overview: